Safety Reports provides multiple different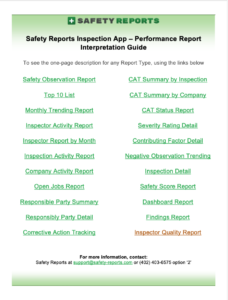 reports you can run with our Safety Inspection App. Click the button learn more about each report and view sample reports.
Log in to the User account @ https://login.safety-reports.com
Select the correct inspection
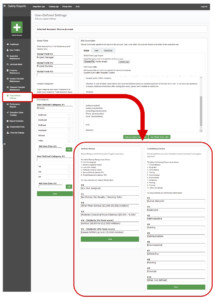
Under Inspection Pictures, click on the Select box under Step 1: Select the photos to upload.
You will click here when adding photos OR files.
Find the file, double click, or select multi and click Open.
Once the image or document has a solid green dot, Click on the Upload button, under Step 2: Upload selected photos to server.
Processing Pop Up appears until photo(s) and/or document(s) upload to the server.
If you would like to assign a photo, click on Assign Picture to Inspection Item.
Click on Select Category then click on the needed category.
Click the circle beside the question/inspection item needed.
Then Select “Yes” or “No”, the question pops open and you can add notes or other options
Click Update
For Photos, you can annotate a circle save photo edits
For Photos, you can make notes in the Photo Narrative section, Click Update Photo Narrative.
Admin account https://admin.safety-reports.com
From the menu items on the left side, select Performance Reports
Select from Report Type a report Change any of the filter options
Click on Run Report
Click on Save Report Settings
Select Report slot by clicking on – Select—
Enter the report name in the field Report Name Update
*Now each time you are in the Performance Reports tab, this report will show under My Saved Reports.
*After any report has been saved you can schedule the report to run and be emailed on a weekly or monthly basis, instructions for scheduling reports below.
Admin account https://admin.safety-reports.com
Click on Report Scheduler
Click on Add Scheduled Report
Select the report you wish to schedule from the dropdown of Saved Reports
Enter/Select the appropriate information for each field (Report Frequency, Report Day, Report Range, Email and Email cc’s [not required], Report Delivery Time).
Select Add Scheduled Report
*After scheduling a report, you can make any changes by clicking on Edit or Delete if needed.
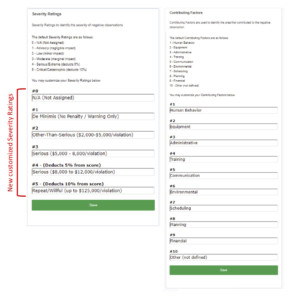
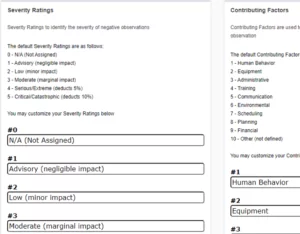
Log in to your Admin Account and select “User Defined Settings” from menu on left side of screen. Enter your custom “Severity Ratings” and/or “Contributing Factors” in the text fields provided. Select “Save” when finished.
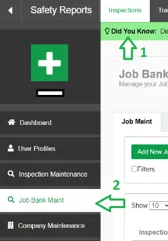
1. Log on to your admin site, choose the tab ‘Inspections’ among products listed at the top, then on the far-left, choose ‘Job Bank Maint’ for Job Bank Maintenance.
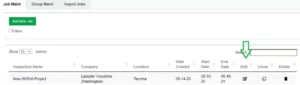
2. Choose the Job Bank Job you want to start performance reports for, and on that row choose the ‘Edit’ icon.
3. Scroll to the bottom of the page that follows, and ‘check’ the “Scheduled Reports” box.
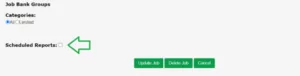
4. Similar to the Report Scheduler function elsewhere in the admin site, the settings for reporting are shown. Choose the report type, update the Title, and select items pertinent to the report such as frequency (weekly or monthly), range, and audience. When complete, choose ‘Update Job’ at the bottom.

1.Log-in to Your Safety Reports Admin Page
2.Select Inspections along the grey bar at the top of the screen
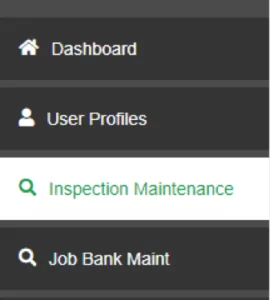
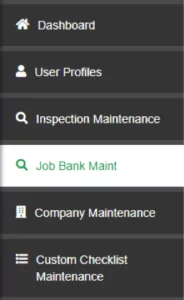
3.At the far left, choose Inspection Maintenance
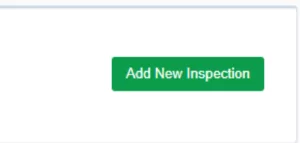
4.In the right-hand corner of the page, select “Add New Inspection”
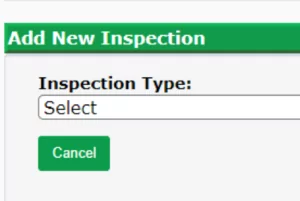
5. Select Inspection Type
6.Add Inspection Information
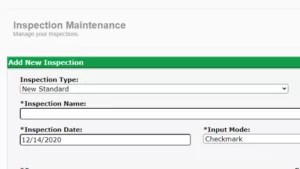
7.When completed, scroll to the bottom of the page and click “Add Inspection”
1.Log-in to Your Safety Reports Admin Page
2.Select Inspections along the grey bar at the top of the screen
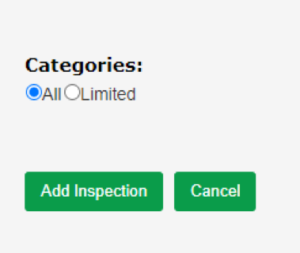
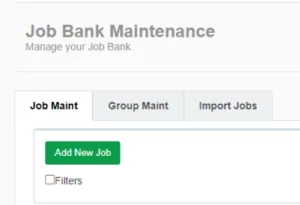
3.At the far left, choose Job Bank Maint
4.Click on “Add New Job”
5. Add information for job
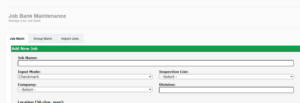
6.Chose a start and end date
![]()
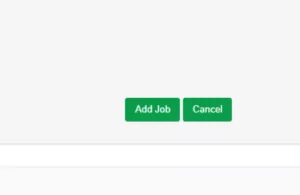
7.When completed, scroll to the bottom of the page and click “Add Job”
1.Log-in to Your Safety Reports Admin Page
2. Select Inspections along the grey bar at the top of the screen
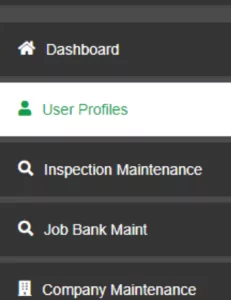
3. At the far left, choose “User Profiles”
4.Select “Edit” next to the user you want to make inactive
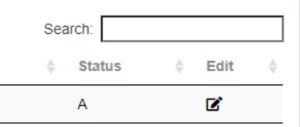
5. Change User Status to “Inactive”
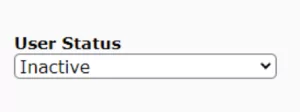
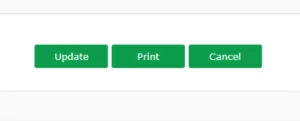
6. Scroll to the bottom and click “Update”
1.Log-in to Your Safety Reports Admin Page
2. Select Inspections along the grey bar at the top of the screen
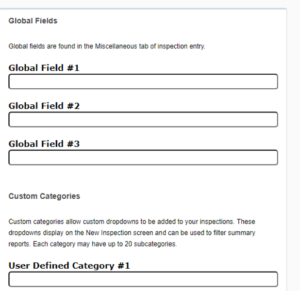
3. At the far left, choose “User-Defined Settings”
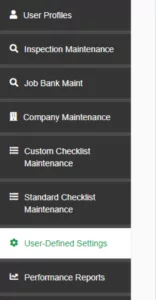
4.Add custom fields for the Inspection app
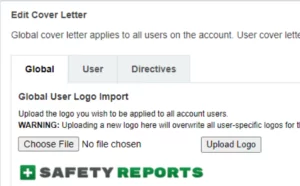
5. Add a logo and edit the cover letter
6. Customize Severity Ratings and Contributing Factors
Next time you log in to the Mobile App, click on the ‘Config’ tab, and run a ‘Download Default Database’ and the changes you made will translate to the app.
1.Log-in to Your Safety Reports Admin Page
2. Select Inspections along the grey bar at the top of the screen
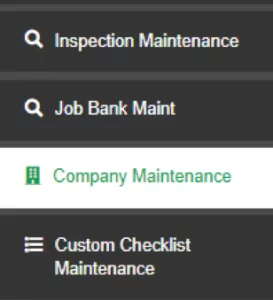
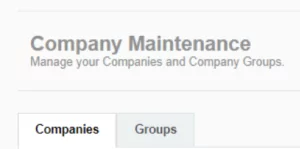
3. At the far left, choose “Company Maintanence”
4. Click on the tab “Groups”
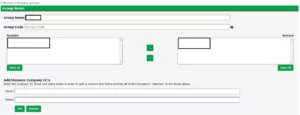
5. Click “Edit” on the group you would like to add or remove CC
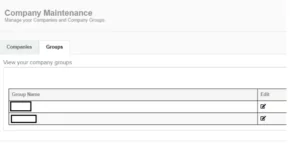
6. Enter the email address and name that you to add or remove and click on the corresponding button below: “Add” or “Remove”
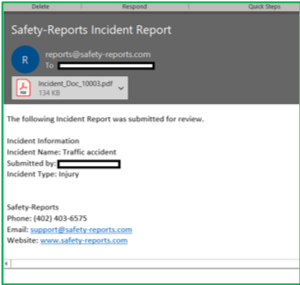
Recipients of a training exam will receive an email like the one shown from the Safety Reports email server ‘reports@safety-reports.com’ as the sender. The title of the exam is shown in bold at the top of the email text. Click the blue link ‘Toolbox Talk Exam Link’ to launch a browser window to review the material and complete the exam.
The following guide is to be used to help build and conduct training exams using the Safety Reports Safety Training System. Templated exams exist for all content in the Safety Reports library and can also be built for custom toolbox talks. Exams are not held in the field directly through the app, rather they are constructed online, emailed to trainees, completed on the web, and responses are recorded for the review of trainers and administrators.
1. Log-in to your Safety Reports Admin page
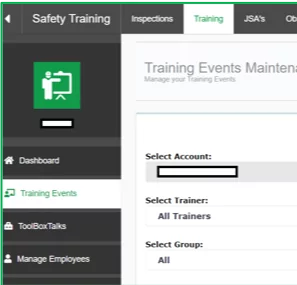
2. Select Training along the grey bar at the top of the screen
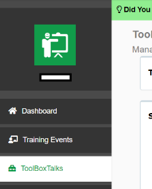
3.Select Training Events at the far left-hand side of the screen
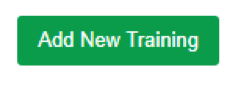
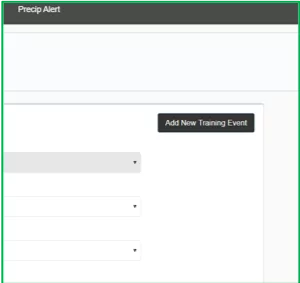
4. Select Add New Training Event at the far-right.
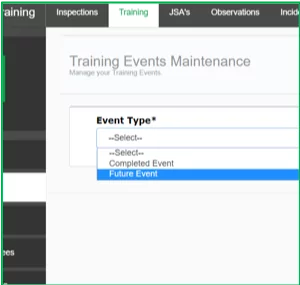
5. Under the Event Type dropdown, select Future Event
6. Set the Meeting Date, ensure the Course Type is set to Toolbox Talk,
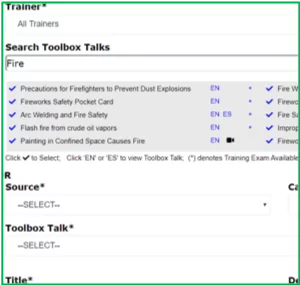
set the Trainer of your choice, and use the Search Toolbox Talks box to enter a keyword
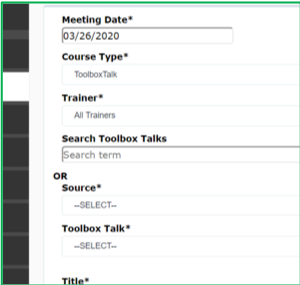
7. Select the Go button at the right-hand side
8.Select the Toolbox Talk of your choice from the options below.
Note that cards available in Spanish are marked ‘ES’ and those with Videos have a small camera icon
*Using this new feature, you can use a keyword to search the title of Toolbox Talks in the Safety Reports Safety Training System
The purpose of this guide is to show how to set up and manage Required Training in the Safety Reports Safety Training System, using the online admin site and how to ensure training from the mobile app is included as required training, where applicable. The setup of the system requires a combination of Admin settings in ‘Required Training’, ‘Training Events’, and ‘Manage Employees’ to work properly. Required Training is ideal for items that must be recertified periodically, such as CPR, Forklift, etc. but the system is also used to keep records for any required training, OSHA 10- and 30-hour and others.
1. Logon to your admin account,
and choose the ‘Training’ tab, if
among other Safety Reports Products.
On the left-hand side, choose ‘Toolbox Talks’
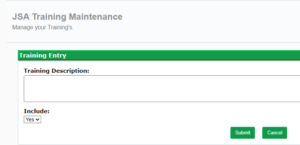
2. Choose the green ‘Add New Toolbox Talk’ button at the top- right
3.Type in the Title, Description and Origin of the talk in the spaces provided.
(Origin will default to the name of the custom toolbox talk source ‘InHouse’ if left unnamed)

4. To add the quick card file, choose the grey ‘Choose File’ button, and navigate through the computer file tree to select the PDF.

5. Then, choose the green ‘Upload’ button, ensure there’s a blue link after this is done
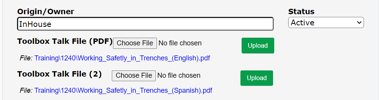
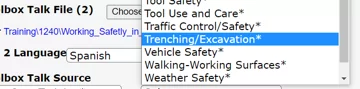
6. If adding a card version for Spanish or French speakers repeat this process under
the Toolbox Talk File (2) row; select the language as applicable.

7. Choose the category the talk will be organized in. Preloaded categories from Safety Reports cover many items,
you are able to build a new category for the talk if none of them apply.
8.When complete, choose the green ‘Add’ button.

1. Log-in to your Safety Reports Admin page
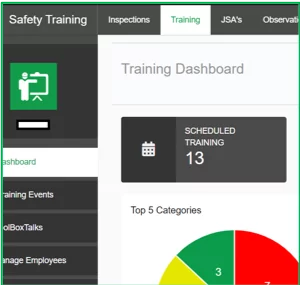
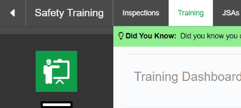
2. Select Training along the grey bar at the top of the screen
![]()
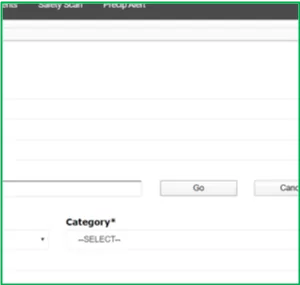
3.At the far left, choose Training Settings
![]()
4. Click ‘Choose File’, once completed press Save Account Settings
1. Log-in to your Safety Reports Admin page
2. Select Training along the grey bar at the top of the screen
![]()
3.At the far left, choose Training Tracking
![]()
4. Choose filters and press search
![]()
5. Filtered results will appear, and can view employees attendance or PDF
![]()
1. Log-in to your Safety Reports Admin page
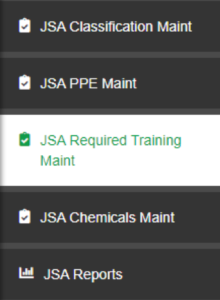
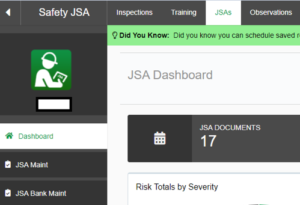
2. Select JSA along the grey bar at the top of the screen
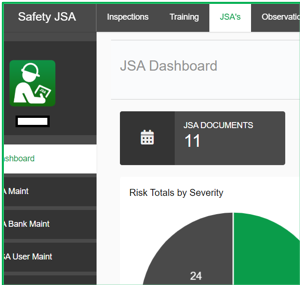
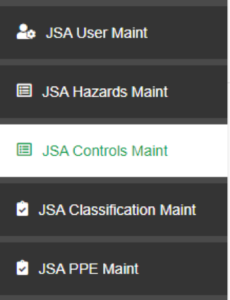
3. Select JSA User Maint. at the far-left hand side of the screen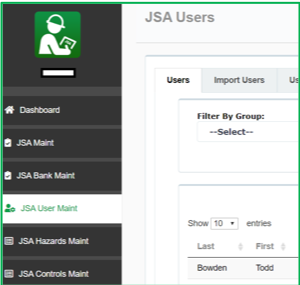
4. Edit the JSA author whose admin status you want to manage by clicking the icon at the far-right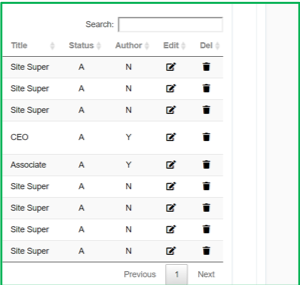
5. To allow authors to submit new JSAs only with approval, choose Requires Approval from the Author Level dropdown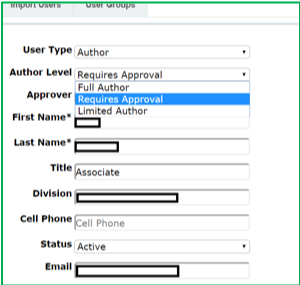
6. When authors of this level change JSA details and save them, the administrator receives an email with a link to give permission for the edits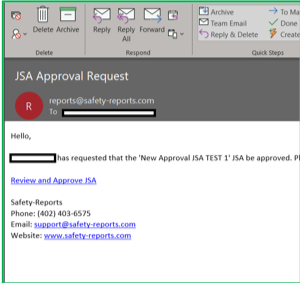
7. To allow authors to create no new JSAs, choose Limited Author from the Author Level dropdown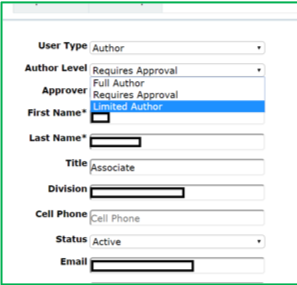
8. When in the mobile app, Limited Authors are able only to Conduct previously-saved JSAs when selecting New JSA, and cannot create them
1.Log-in to Your Safety Reports Admin Page
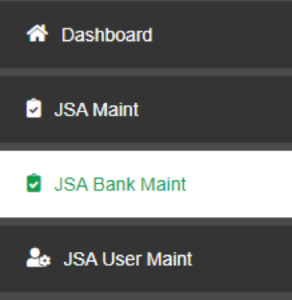
2. Select JSA along the grey bar at the top of the screen
3. At the far left, choose “JSA Bank Maint”
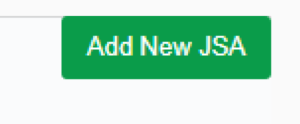
4.In the right-hand corner, click on “Add New JSA”
5. Fill in the information for the JSA, then click “Add”
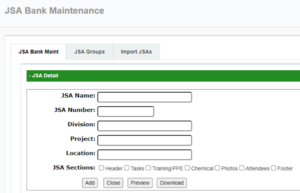
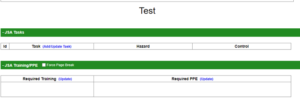
6. Build-out JSA
1.Log-in to Your Safety Reports Admin Page
2. Select JSA along the grey bar at the top of the screen
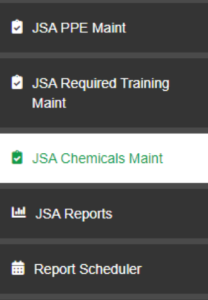
3. At the far left, choose “JSA Chemical Maint”
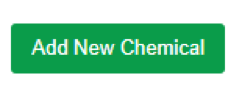
4. Select “Add New Chemical”
5. Add information for chemical and select “Submit”
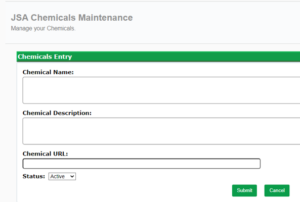
6. Build-out JSA
1.Log-in to Your Safety Reports Admin Page
2. Select JSA along the grey bar at the top of the screen
3. At the far left, choose “JSA Control Maint”
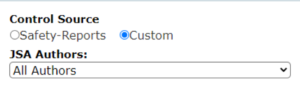
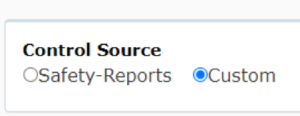
4. Click on Custom
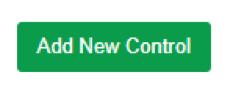
5. Click Add New Control
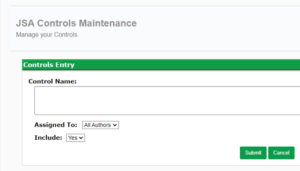
6. Add information for the control and click submit
1.Log-in to Your Safety Reports Admin Page
2. Select JSA along the grey bar at the top of the screen
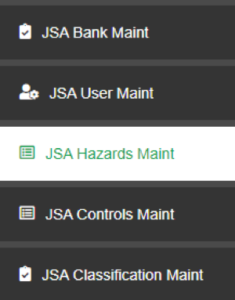
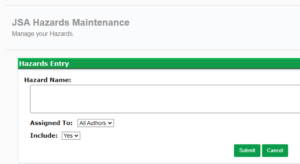
3. At the far left, choose “JSA Hazard Maint”
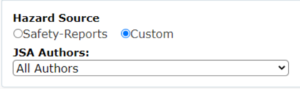
4. Click on Custom
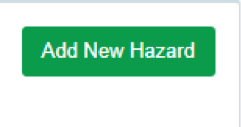
5. Click Add New Hazards
6. Add hazard information and click submit
1.Log-in to Your Safety Reports Admin Page
2. Select JSA along the grey bar at the top of the screen
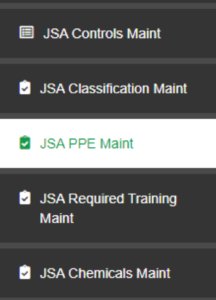
3. At the far left, choose “JSA PPE Maint”
4. Click on Custom
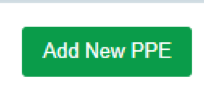
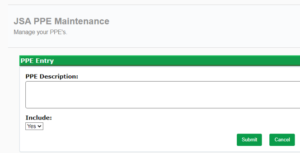
5. Click Add New PPE
6. Add custom PPE information and click submit
1.Log-in to Your Safety Reports Admin Page
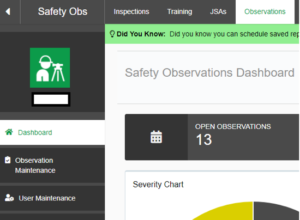
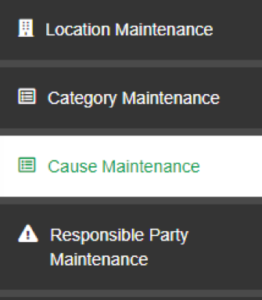
2. Select Observations along the grey bar at the top of the screen
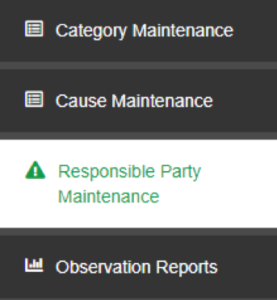
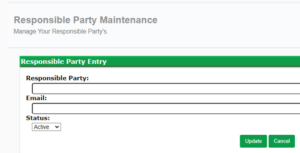
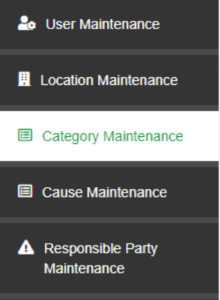
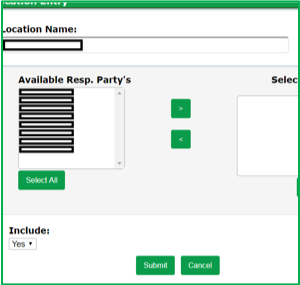
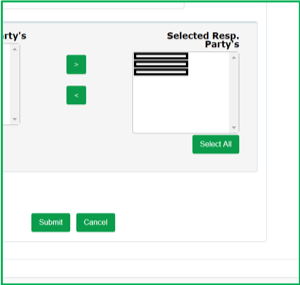
3. At the far left, choose “Responsible Party Maintenance”
4. Click on “Add New Responsible Party”
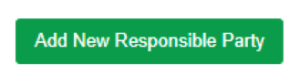
5. Add responsible parties name and email, then click update
Download: Safety Obs – Adding Responsible Parties
1.Log-in to Your Safety Reports Admin Page
2. Select Observations along the grey bar at the top of the screen
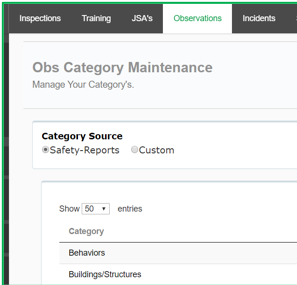
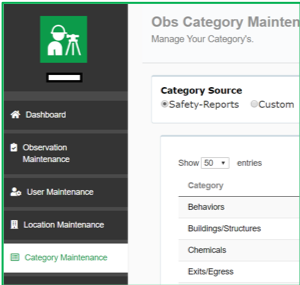
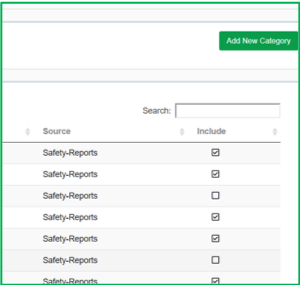
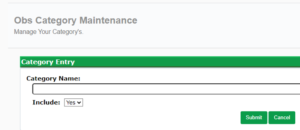
3. At the far left, choose “Category Maintenance”
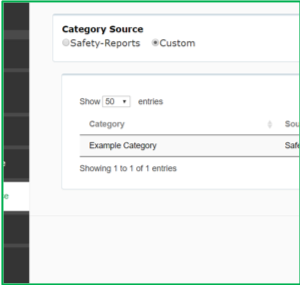
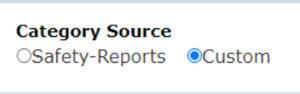
4. Click on Custom
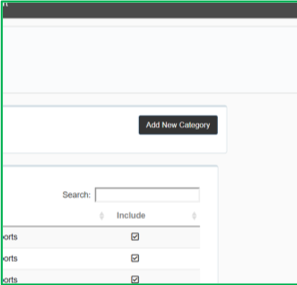
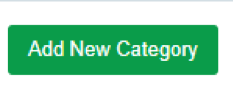
5. Click “Add New Category”
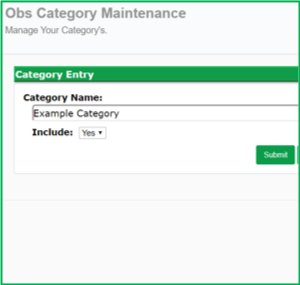
6. Add category information and click Submit
1.Log-in to Your Safety Reports Admin Page
2. Select Observations along the grey bar at the top of the screen
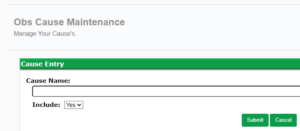
3. At the far left, choose “Cause Maintenance”
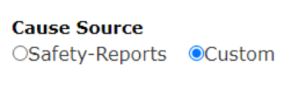
4. Click on Custom
5. Click “Add New Cause”
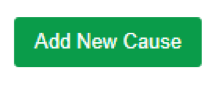
6. Add cause information and click Submit
1.Log-in to Your Safety Reports Admin Page
2. Select Incidents along the grey bar at the top of the screen
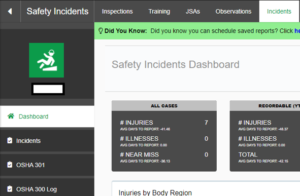
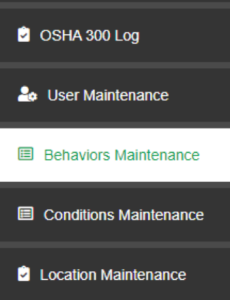
3. At the far left, choose “OSHA 300 Log”
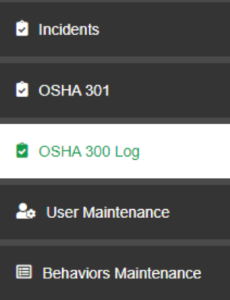
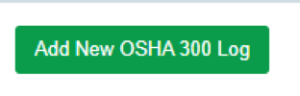
4. Click “Add New OSHA 300 Log”
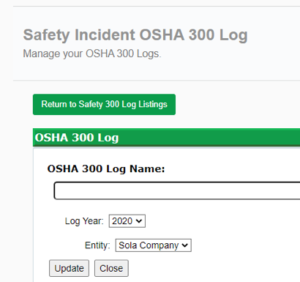
5. Add OSHA 300 information and click update
1.Log-in to Your Safety Reports Admin Page
2. Select Incidents along the grey bar at the top of the screen
3. At the far left, choose “OSHA 301”
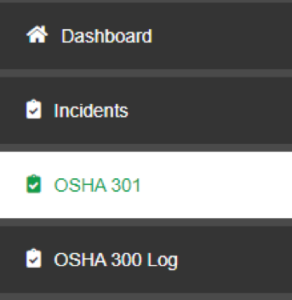
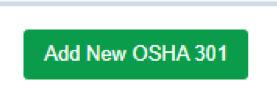
4. Click “Add New OSHA 301”
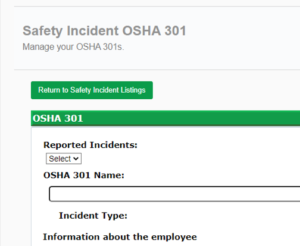
5. Add information
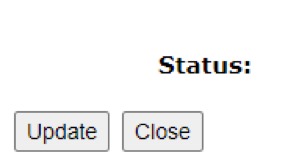
6. Scroll to the bottom of the page and click update
1.Log-in to Your Safety Reports Admin Page
2. Select Incidents along the grey bar at the top of the screen
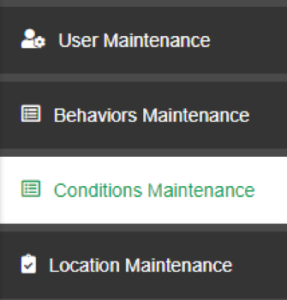
3. At the far left, choose “Behaviors Maintenance”
4. Click “custom”
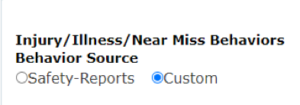
5. Click “Add New Behavior”
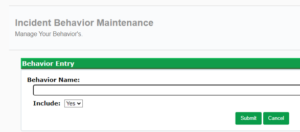
6. Add behavior information and click submit
1.Log-in to Your Safety Reports Admin Page
2. Select Incidents along the grey bar at the top of the screen
3. At the far left, choose “Conditions Maintenance”
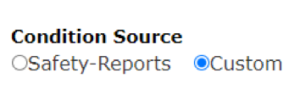
4. Click “custom”
5. Click “Add New Condition”
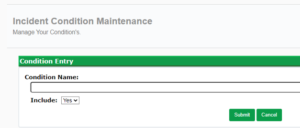
6. Add condition information and click submit
1.Log-in to Your Safety Reports Admin Page
2. Select Incidents along the grey bar at the top of the screen
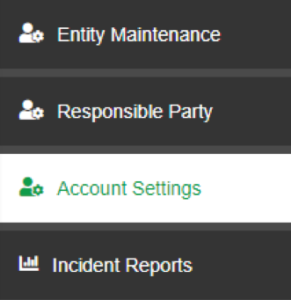
3. At the far left, choose “Account Settings”
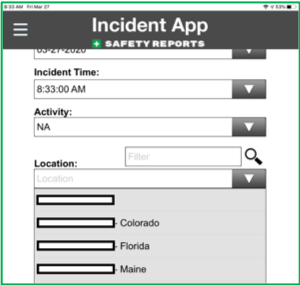
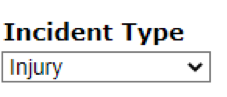
4. Select Incident Type
5. Add information in the five fields below and save UDFs
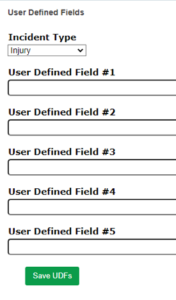
6. Repeat for each Incident Type
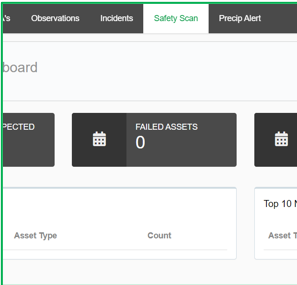
The Safety Reports Safety Scan app allows for inspectors to conduct one of three functions, Inspecting Assets, Editing Assets or Replacing Assets. The following information will show basics of the Inspect Asset function.
This guide gives direction on setup of the Safety Scan product in the Safety Reports Enterprise System. The system is asset-based, built to allow QR codes or manual entry of a unique equipment ID from the field to launch an inspection in the mobile app, with results aggregated for the account in cloud storage reviewable by web administrators. Applications for this product are extremely variable, from routine inspections for fire extinguishers through return to work screenings for employees.
The following guide shows functions and steps to perform inspections using the Safety Scan App from Safety Reports. This system allows assets to be inspected either ad-hoc, by scanning a QR code or entering its Tag number, or in a route built by the account administrator.
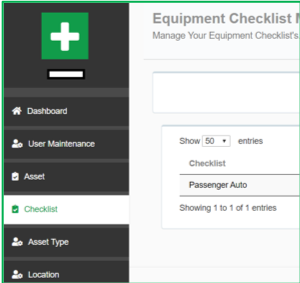
1.Log-in to Your Safety Reports Admin Page
2. Select Scan along the grey bar at the top of the screen

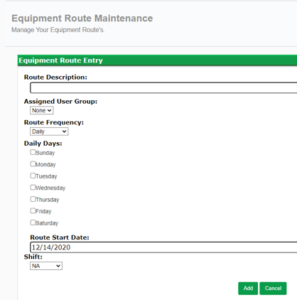
3. At the far left, choose “Route”
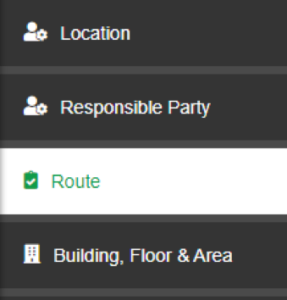
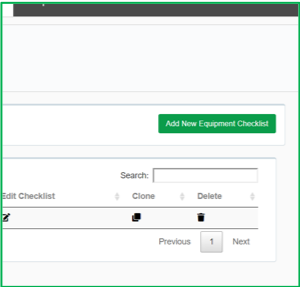
4. Select “Add New Equipment Route”
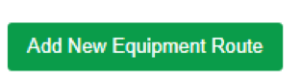
5. Add route information and click add
1.Log-in to Your Safety Reports Admin Page
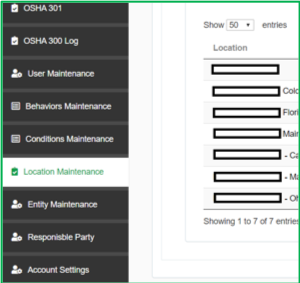
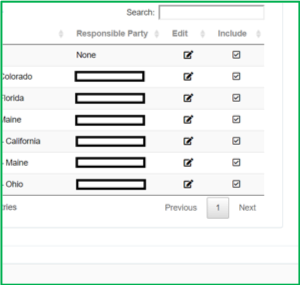
2. Select Scan along the grey bar at the top of the screen
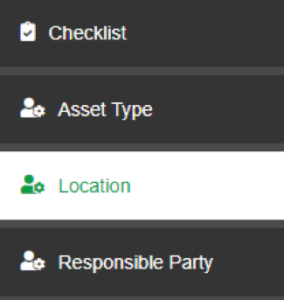
3. At the far left, choose “Location”
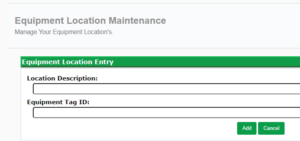
4. Select “Add New Equipment Location”

5. Add Location information and click add
1.Log-in to Your Safety Reports Admin Page
2. Select Scan along the grey bar at the top of the screen
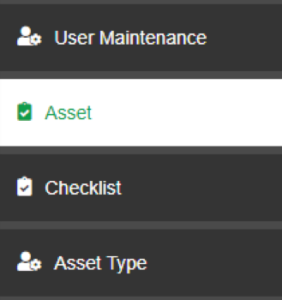
3. At the far left, choose “Asset”
4. Click edit on the asset you want to make inactive

5. Click on Asset Status and select “Out of Service”
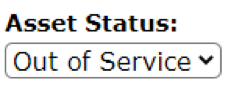
6. Scroll to the bottom of the page and select update
1.Log-in to Your Safety Reports Admin Page
2. Select Scan along the grey bar at the top of the screen
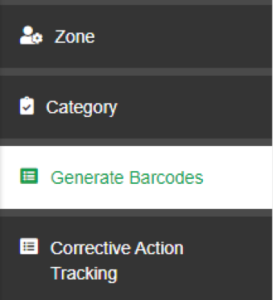
3. At the far left, choose “Generate Barcodes”
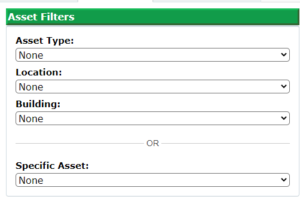
4. Select from assets
![]()
5. Select the specific asset
6. Select barcode size and click generate
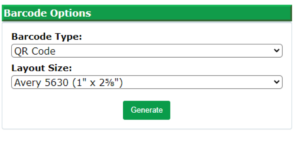
7. A new window will open and the barcode code will be there

1.Log-in to Your Safety Reports Admin Page
2. Select Forms along the grey bar at the top of the screen
![]()
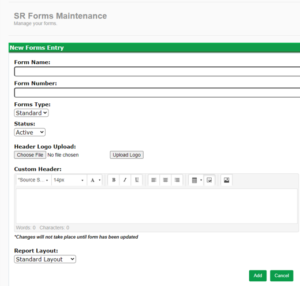
3. At the far left, choose “Forms Maintenance”
![]()
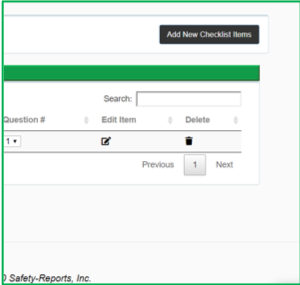
4. Select “Add New Form”
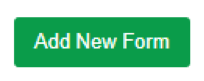
5. Click choose file, upload logo, and when completed press Ad.